Thinking about a makeover? Mood boards are the perfect way to visualize how you want your space to look and feel before you roll up your sleeves. Whether you use the tried-and-true method of paper and glue or love the flexibility of going digital, we’re sharing four easy steps you can follow to make a mood board for your room.
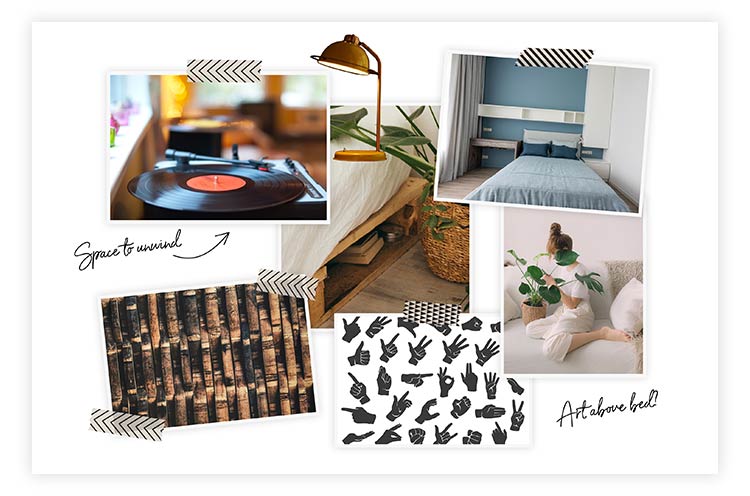
Step 1: Find Inspiration
Inspiration is at the heart of every mood board. Whether you’re flipping through magazines or scrolling through Pinterest feeds, inspiration hunting is about figuring out the overall aesthetic you’re trying to create. Love bringing nature inside? Explore rooms budding with florals and greenery. Have a collection of vinyl you want easy access to? Look for ways to store them. When you start with the bigger picture of your room, it’s easier for other details like color and decor to fall in place.
DIY TIP: Don’t hold back. Now’s the time to save anything and everything that catches your eye. Once you’re ready to finalize your mood board, you can be more selective.
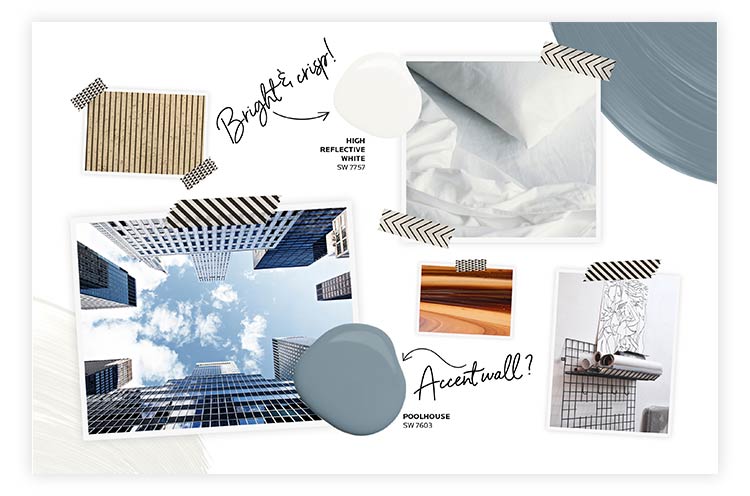
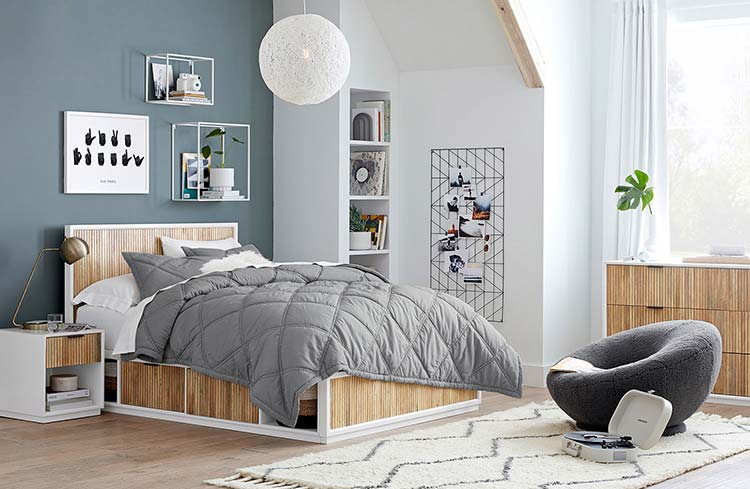
Featured Colors: High Reflective White SW 7757, Poolhouse SW 7603
Step 2: Explore Colors & Materials
There’s a good chance your inspiration stockpile already features some of the colors and materials that speak to you. Take a look at what you’ve saved and see if any common themes start to appear. Are you adding lots of neutrals? Saving a lot of blues? Any patterns that stick out can help you easily spot the kinds of hues you’re leaning toward using for your project. You can also take our quiz to find your Color ID palette that’s based on your personality.
DIY TIP: Don’t forget to leave yourself notes along the way. Noting what you love about a color or where you want to use it can be helpful when you’re ready to bring your mood board to life.
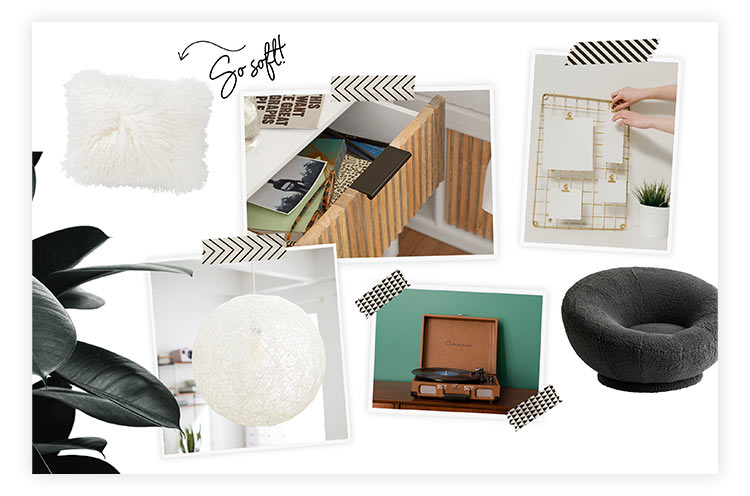
Product Photography (Excluding Record Player and Wall Grid) Courtesy of Pottery Barn Teen
Step 3: Add Furniture & Decor
Time to furnish! Whether you’re shopping for new finds or playing around with what you own, always work from large to small. Bigger furniture takes up the most space, so it’s important to lock those details in before adding anything else into the mix. Once you have your staple pieces picked out, you can start to add in smaller accents like pillows and lighting.
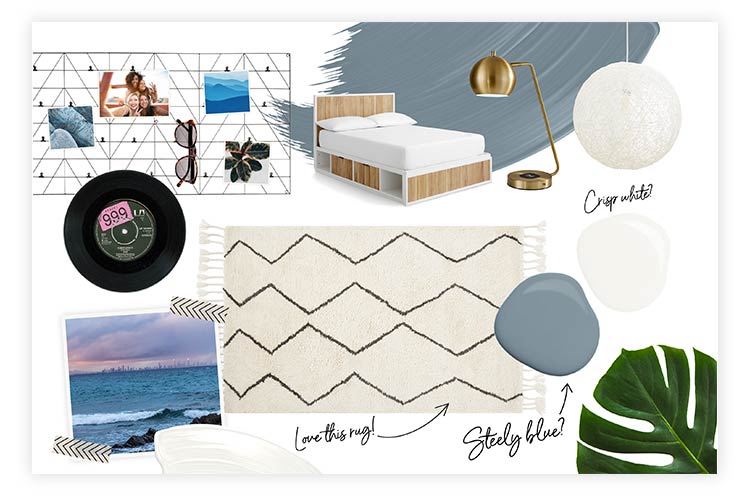
Product Photography (Excluding Vinyl) Courtesy of Pottery Barn Teen
Step 4: Arrange Your Final Mood Board
All that’s left to do is mix and match in one place! Take a final look at your mood board and see if you like the way everything’s working together. You can add, remove and adjust until it’s just the way you want it – that’s the beauty of making a mood board.
DIY TIP: Love it or leave it. Curating a space takes time, so it’s important that you love every piece that makes it onto your final mood board.
Ready to plan your next makeover? Tell us about your project in the comments below and don’t forget to share your final mood boards and room shots by tagging your photos on social with #SWColorLove.


What app did you use to create your digital boards?
Hi Nancy! Our team used Photoshop and InDesign to create these. There are other services online that will help you create a digital mood board of your own.
Give us an app to make the mood board with instructions. Everyone reading this wants to make a mood board.
Hi Deborah! Love this idea. Thank you for your feedback. There are services online that will help you create a digital mood board of your own.
What tool did you use to create the beautiful Mood Board? I have a hard time capturing the photos in a snipet to put onto a board on Word.
Hi Kimberly! Our team used Photoshop and InDesign to create these mood boards. There are other services online that can help you create your own digital mood board.
I want to have a coastal theme and coastal furniture in my living room. I like bright white walls. Creamy colored furniture. I have a large accent wall, right now it is a coral color, would like to change to a deep color teal or a tropical green. Trying to finish my mood board .
I have accent colors of mint aqua.
Hello there, check out these pretty colors for the coastal vibe you want:
Festoon Aqua SW 0019
Banana Cream SW 6673
Cupola Yellow SW 7692
St Bart’s SW 7614
SW 6488 Grand Canal makes a wonderful, tropical accent wall.
While I love the final look you should never advocate for high reflective white to be used on walls. I DOES NOT COVER!!! A client of mine chose this for wall color and we had to paint rooms three an four times! We weren’t even covering a dark color. I had only used it on trim before. Sherwin a Williams should not even make this color in a wall paint. It’s irresponsible.
Hi Shelly, we are very sorry that you had this experience. For this type of situation, if you have not done so already, please contact the Sherwin-Williams store where you purchased the paint. Each store is required to address any customer dissatisfaction regarding product application. Please contact the store and speak with the manager. If you have already done so, please contact us at 1-800-4Sherwin (474-3794) or by email at http://bit.ly/2Dgu0Ti. Thank you!
My kitchen is painted pool house blue and my laundry room is adjacent to it. It is currently white, but I plan on painting it this weekend. What color would go with it?
Hello Jennifer, a warm neutral would be a beautiful complement to Poolhouse SW 7603. Take a look at these neutrals:
Nantucket Dune SW 7527
Stucco SW 7569
Urban Putty SW 7532